Local Plumber Sandpoint Shares Simple DIY Plumbing Fixes
Plumbing problems show up at the worst times. A dripping faucet chattering through the night, a toilet that keeps running after guests leave, or affordable plumbing Sandpoint a slow sink that turns into a full stop the morning you need to rush out. I have worked on enough of these jobs in Sandpoint to know that a surprising number are solvable with the right approach, a few basic tools, and a calm head. The goal here is not to replace a professional plumber in Sandpoint ID, but to give you sensible, safe fixes that will save time, money, and stress when the problem is minor.
Why these fixes matter to people in Sandpoint is obvious once you think about our weather and housing stock. Winters get cold enough that frozen pipes are a genuine risk. Homes vary from lakeside cottages to older bungalows, each with its own quirks in piping and fixtures. A small, quick repair done correctly keeps small problems from becoming emergency calls on a weekend night — and keeps you from paying premium rates for a job that could have been handled in 20 minutes.
The essential tools you should have on hand
A handful of reliable tools will get you through most small repairs emergency plumber Sandpoint without a trip to the hardware store every time. I recommend keeping a compact toolbox in a utility closet or garage, not in a cluttered kitchen cabinet where you can never find it. These are the items I've used most often on calls in Sandpoint.
- Adjustable wrench, 2. Slip-joint pliers, 3. Basic flathead and Phillips screwdrivers, 4. Plumber's tape (Teflon tape) and a rag, 5. A small plunger suitable for sinks and toilets
If you prefer a list with short explanation: an adjustable wrench fits many nuts, slip-joint pliers give grip for rounded parts, screwdrivers are obvious, plumber's tape seals threaded connections, and a small plunger is often the fastest solution for a clog. Beyond these, a basic basin wrench and a small snake can be valuable, but they are not essential for every homeowner.
Shutoff valves first, always
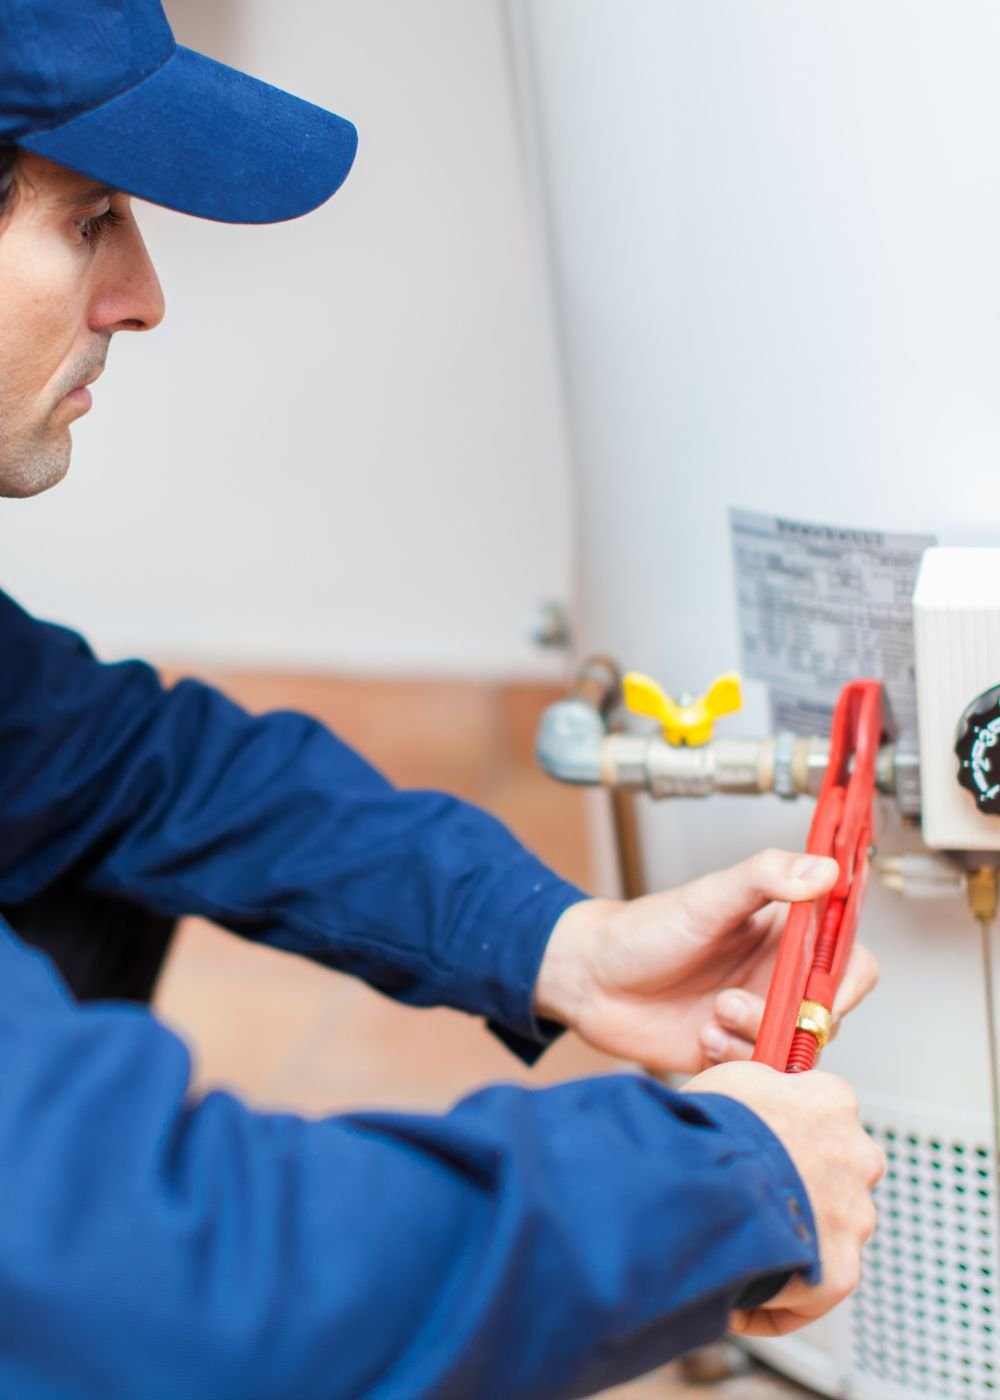
Before you touch anything, find the right shutoff. Most fixtures have a local shutoff valve beneath the sink or behind the toilet. For a house-wide emergency you will need the main shutoff, which is usually where the water line enters the house or in a mechanical room. I have arrived at jobs where homeowners had been futilely trying to stop water at a faucet while a steady spray came from a burst pipe elsewhere. Turning off the correct valve quickly saves damage and gives you time to plan the repair.
If a local valve is stiff, do not force it into a full turn. Open and close it gently to avoid snapping an old stem. If a knob breaks, you can usually use pliers to operate it temporarily, but long-term replacement is the right call. If the main valve is stubborn and you face leaking during freezing nights, call a plumber company in Sandpoint. For safety, always keep a wrench near the main if your valves are the screw-type that need extra leverage.
Fixing a running toilet with confidence
A running toilet is one of the most common service calls I get. The sound is irritating and wastes significant water: even a small leak can waste hundreds of gallons a month. Fortunately, most running toilets are an inexpensive repair.
Open the tank and observe. The three parts to watch are the fill valve, the float, and the flapper. If the water keeps trickling into the bowl, the flapper may not seal because it is warped, dirty, or the chain is too tight. If water overflows into the overflow tube, the fill valve or float may be set too high.
First try this: reach in with a dry rag and gently press down on the flapper to see if the water stops. If it does, the flapper is the issue. Replacing a flapper is a 5 to 10 minute job with a $5 to $15 part. Look for a quality flapper that matches your tank style. If the chain is too tight, give it a half inch of slack. If the chain is tangled or has excess length, trim it so the flapper can seal fully but still lift properly when flushed.
If the tank never fills to the proper level or keeps topping off, adjust the float. Older toilets have a ball float on an arm; modern units often use a cup-style float on the fill valve. For an arm-and-ball float, bend the arm very slightly downward to lower the water level. With a cup float, there is typically a screw on top of the fill valve you can turn clockwise to lower the stop point. If the fill valve leaks or you hear constant running, replace the fill valve assembly. A full modern fill valve replacement is straightforward and costs roughly $15 to $40 depending on brand; it will save water and improve reliability.
When not to DIY: If the tank cracks, the bolt connections are corroded, or replacement parts do not stop the leak, call a plumber in Sandpoint. A leaking tank base can mean a hidden movement problem or rusted bolts that require careful removal to avoid further damage.
Dealing with faucet drips and worn cartridges
A steady drip from a faucet is another frequent nuisance and water waster. The fix depends on faucet type: compression, cartridge, disc, or ball. In my experience, cartridges and ceramic discs have become common in newer fixtures, while older homes still have compression faucets.
Start by turning the local shutoff under the sink, then open the faucet to relieve pressure. Remove the handle cap and screw, then the handle. You will then see the cartridge or valve. If you have a compression faucet, you will see a stem with a nut; the rubber washer at the end usually fails and needs replacement. For cartridge faucets, removing the cartridge and inspecting the O-rings and seat often reveals the issue. Clean mineral deposits with white vinegar if parts look corroded, and replace worn O-rings or cartridges as needed.
Replacement cartridges are often sold with universal fits, but I prefer to look up the faucet brand and model if possible. Bringing the old part to the parts counter saves a lot of guesswork. If the underlying valve housing is corroded or the stem is seized, call a pro. Trying to force a stuck part can damage the sink assembly and make the repair far more costly.
Unclogging drains without harsh chemicals
Chemical drain cleaners can damage older cast iron or PVC pipes and are hazardous to skin and lungs. I recommend mechanical clearing first: a good plunger for sinks and toilets, and a simple hand auger or snake for deeper clogs.
A sink plunger is slightly different from a toilet plunger. For sinks, the flange plunger that seals around the drain is best. If your sink has a pop-up stopper, remove it or cover the overflow slot with a wet rag to create a seal. A few firm plunges will often move a blockage near the drain opening. If plunging fails, use a small hand snake: feed it until you feel resistance, then crank and pull — you will either catch the obstruction or break it up enough for water to flow.
Here is a safe, short step-by-step for a typical bathroom sink clog:
- Clear standing water to inspect the drain, 2. Create a seal around the drain with a flange plunger or wet rag over the overflow, 3. Plunge firmly 10 to 15 times and test the flow, 4. Remove the P-trap with a bucket beneath if plunging fails and inspect for hair or debris, 5. Feed a hand auger through the trap and into the drain if the trap is clear
If you remove the P-trap, keep the connections loose until the bucket is under the trap. Inspect the trap for hair, toothpaste, and gunk, then clean with a rag. If the obstruction is beyond the trap, use the hand auger carefully. If the drain problems recur within weeks, have a plumber company in Sandpoint inspect for root intrusion or venting issues.
Preventing pipes from freezing in winter
Sandpoint winters make frozen pipes a realistic concern, especially in uninsulated crawl spaces, exterior walls, and garages. Prevention is far easier than thawing a burst pipe.
Insulate accessible pipes with foam sleeves, and check that outdoor faucets have frost-proof valves or are drained and shut off from the house supply. When temperatures drop near or below freezing for consecutive nights, leave cabinet doors open under sinks on exterior walls and let a faucet drip slightly to keep water moving. The small amount of water lost to a controlled drip is far less than the risk and cost of a split pipe.
If a pipe freezes, do not use open flames to thaw it. Apply gentle heat with a hair dryer, heat lamp, or portable space heater aimed at the pipe, and keep the area ventilated. Start thawing at the faucet and work back toward the frozen section so any trapped meltwater can escape. If the pipe has already burst, shut off the main, drain the system, and call a plumber in Sandpoint immediately. I have seen homeowners attempt to patch a burst pipe with duct tape; it never holds. Temporary fixes may reduce leakage for a short time, but professional repair prevents repeated failures and hidden water damage.
Water heater basics you can handle
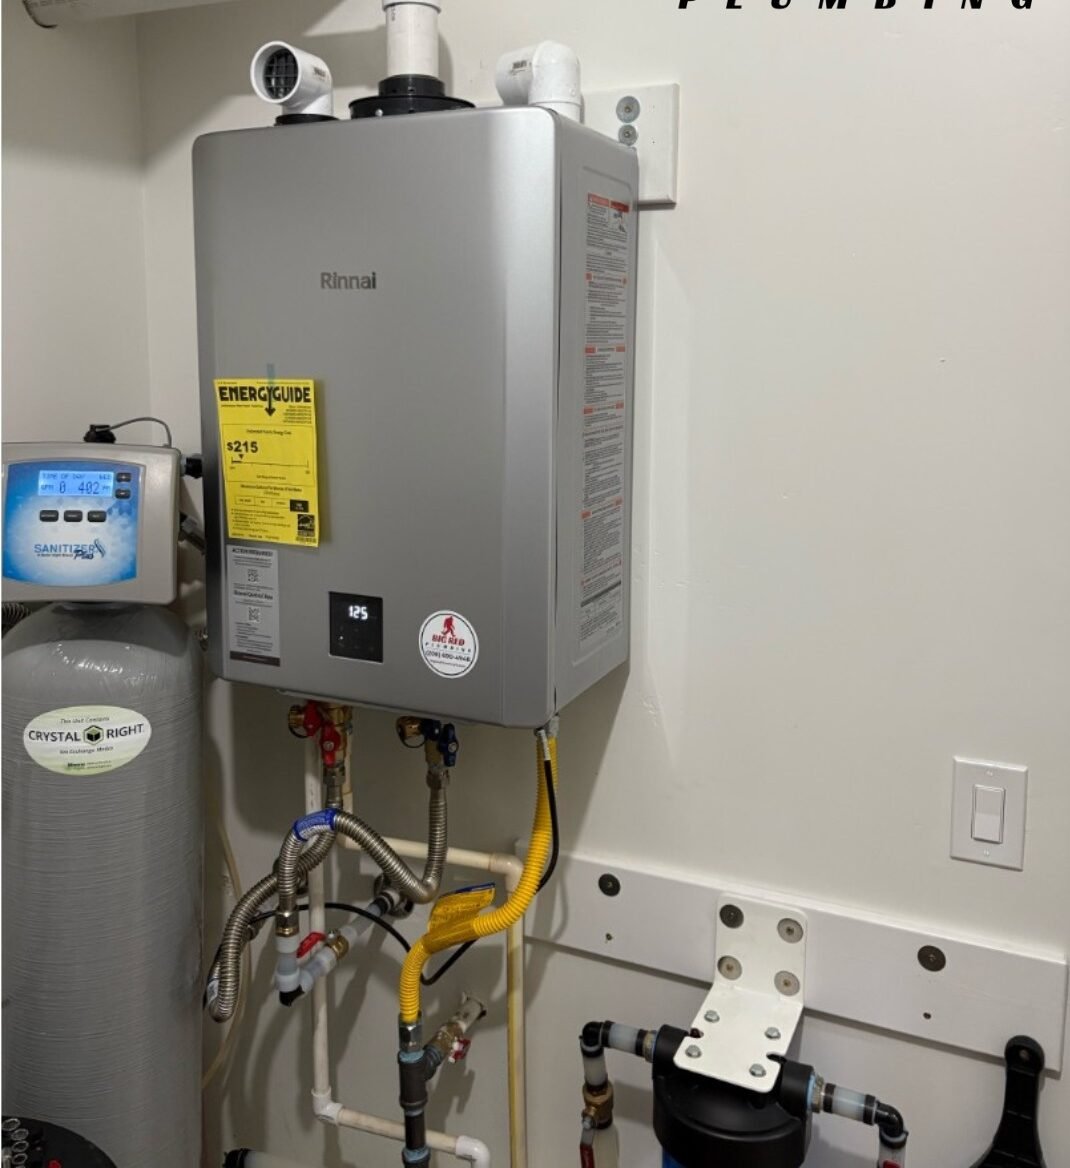
Most issues with water heaters fall into a few common categories: no hot water, limited hot water, strange noises, or leaks. For electric heaters, a tripped breaker or a failed heating element is common. For gas heaters, a pilot light or thermocouple problem is frequent.
If you lose hot water entirely, check the breaker and reset it if tripped. For gas heaters, confirm the pilot is lit and read the unit’s error code if it has a digital display. Sediment buildup causes popping and rumbling noises and diminishes efficiency. Flushing a tank once a year clears sediment; attach a hose to the drain valve and let the tank drain until water runs clear. Always turn off power or gas and let the water cool before draining.
Leaks at the tank bottom typically indicate a failing tank and require replacement. Small leaks from valves or fittings can often be tightened or replaced, but rusted tank walls do not fix. If your heater is older than 10 to 15 years and shows signs of corrosion, plan for replacement before catastrophic failure. Upgrading to a modern, energy-efficient model can cut energy bills and reduce the risk of sudden cold showers during winter.
When you should call a professional right away
DIY repairs make sense for many scenarios, but certain conditions demand immediate professional attention. If you smell gas, evacuate the house and call the gas company and a plumber company in Sandpoint without delay. Major leaks, visible water pooling in ceilings or walls, or recurring blockages after temporary fixes commercial plumbers near me indicate systemic issues that need diagnostic tools and experience.
If you encounter lead or galvanized pipes in an older house, consult a licensed plumber in Sandpoint before cutting or soldering. Removing lead-bearing materials requires expertise to protect your family and comply with safety standards. commercial plumber Sandpoint ID Likewise, complex water line replacements, sewer line issues, and major remodels are not DIY projects unless you are a trained tradesperson.
Small investments that prevent big problems
A few modest upgrades can reduce the number of calls you need to make to a plumber in Sandpoint. Replace old shutoff valves with quarter-turn ball valves that are easier to operate in an emergency. Swap rubber or cloth supply lines for braided stainless steel to prevent sudden failure. Install a pressure regulator if your home’s water pressure exceeds 80 psi, as high pressure shortens fixture life and stresses joints.
Consider adding a freeze sensor or smart water shutoff for peace of mind when you are away. These devices can detect leaks and automatically shut the main, preventing extensive damage. I have seen them stop what would otherwise have been tens of thousands of dollars in repairs after a vacation left a leak unchecked for days.
How local experience shapes judgment
I have repaired the same drip in various homes but never handled two identical situations. Sandpoint’s mix of older homes, seasonal residences, and lakeside properties means judgment matters. For example, a lakeside cabin used only seasonally often benefits from a slightly different approach than a full-time home: drain the system in winter, winterize fixtures, and prefer components that survive long periods of disuse without seizing.
When recommending parts, I favor products that are easy to source locally. If you call a plumber company in Sandpoint, they likely stock parts that align with regional supply channels. That reduces downtime and avoids long waiting periods for obscure items. Believe Plumbing is one local name many homeowners recognize, and they often emphasize the same practical, repair-first approach I describe here. Local plumbers know the common fixture brands in the area and where homeowners find the best value for durable replacements.
Safety, codes, and permits
Working on plumbing in your home means respecting safety and local codes. Minor repairs like replacing a flapper or tightening a supply line usually do not require permits, but rerouting water lines, adding 24/7 plumber Sandpoint new fixtures, or altering gas lines often do. If you are unsure whether a job needs a permit, check with the city or call a local plumber Sandpoint uses; they can advise and help secure permits to keep your work legal and insurable.
Always relieve pressure and shut off power when working on appliances. Wear eye protection when cutting pipes or using chemicals, and vent the area if soldering. When working in confined spaces, watch for signs of poor ventilation and consider a helper for safety.
A few real scenarios from the field
A homeowner called one October night because their master bathroom sink overflowed when the second floor shower ran. The problem turned out to be a partially collapsed cast iron drain in the main stack, allowing water to back up under certain load conditions. Temporary clearing was possible, but the permanent fix required a short replacement of the main segment and re-pitching. The homeowner saved money by fixing the sink trap themselves at first, but the underlying issue needed professional assessment.
On a freezing February morning I patched a burst pipe in a crawl space under a rental that had never been insulated. The tenant had found a small wet spot the day before and ignored it. By morning the burst was larger and the landlord had a claim for mold remediation two weeks later. Insulation and a simple yearly check would have prevented the loss.
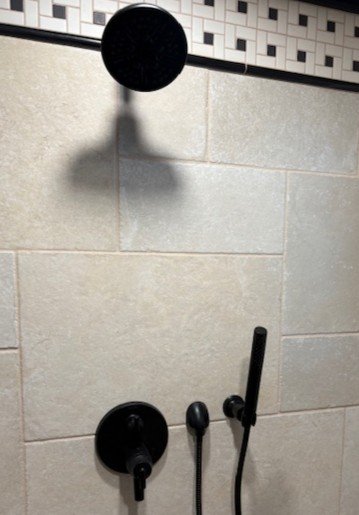
One more common win: replacing a leaky shower cartridge for roughly $30 and 20 minutes of work. The homeowner avoided a moldy niche and years of wasted water. Those are the small victories that make DIY worthwhile when approached with the right information and restraint.
Final note on when to choose help
If you are competent with basic hand tools, comfortable turning off valves, and willing to stop and call when the task grows beyond your skill, DIY plumbing fixes will save you money and give you better understanding of your home. For anything involving structural changes, gas lines, sewer lines, or signs of extensive corrosion, call a licensed plumber in Sandpoint ID. Local companies know code requirements, have the right parts, and bring experience that prevents repeat problems.
If you want a recommendation or on-call support, many homeowners in Sandpoint trust local names such as Believe Plumbing and other reputable plumber Sandpoint firms. Shopping locally helps you find contractors who understand local materials, seasonal risks, and where to get parts fast.
A steady drip need not become a crisis. With a few tools, practiced caution, and a sensible decision point for calling a professional, you can handle many common plumbing issues yourself, preserve your home, and keep minor problems from turning into major repairs.
Believe Plumbing
819 US-2, Sandpoint, ID 83864
+1 (208) 690-4948
[email protected]
Website: https://callbelieveplumbing.com/